Numbers
Numbers User Guide for Mac
- Welcome
- What’s new
-
- Get started with Numbers
- Intro to images, charts and other objects
- Create a spreadsheet
- Open or close spreadsheets
- Personalise templates
- Use sheets
- Undo or redo changes
- Save your spreadsheet
- Find a spreadsheet
- Delete a spreadsheet
- Print a spreadsheet
- Change the sheet background
- Touch Bar for Numbers
-
- Use iCloud with Numbers
- Import an Excel or text file
- Export to Excel or another file format
- Reduce the spreadsheet file size
- Save a large spreadsheet as a package file
- Restore an earlier version of a spreadsheet
- Move a spreadsheet
- Lock a spreadsheet
- Password-protect a spreadsheet
- Create and manage custom templates
- Copyright

Format text into columns in Numbers on Mac
You can format text in a text box into two or more columns in which text flows automatically from one column to the next.
Format columns of text
Go to the Numbers app
 on your Mac.
Open a spreadsheet with an existing shape or text box, then click the shape or text box to select it.
In the Format
 sidebar, click the Text tab.
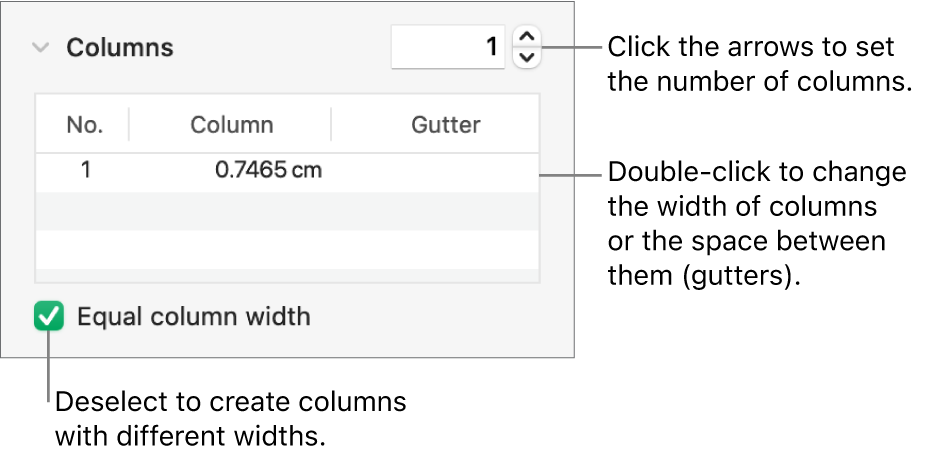
Click the Layout button near the top of the sidebar, then click the arrows next to the Columns value field to add or remove columns.
To see more formatting options, click the disclosure arrow next to Columns.

Force text to the top of the next column
Go to the Numbers app
 on your Mac.
Open a spreadsheet with an existing column of text, then click where you want the previous column to end.
Choose Insert > Column Break (from the Insert menu at the top of your screen).
Thanks for your feedback.