Final Cut Pro User Guide
- Welcome
-
- What’s new in Final Cut Pro 10.6.2
- What’s new in Final Cut Pro 10.6
- What’s new in Final Cut Pro 10.5.3
- What’s new in Final Cut Pro 10.5
- What’s new in Final Cut Pro 10.4.9
- What’s new in Final Cut Pro 10.4.7
- What’s new in Final Cut Pro 10.4.6
- What’s new in Final Cut Pro 10.4.4
- What’s new in Final Cut Pro 10.4.1
- What’s new in Final Cut Pro 10.4
- What’s new in Final Cut Pro 10.3
- What’s new in Final Cut Pro 10.2
- What’s new in Final Cut Pro 10.1.2
- What’s new in Final Cut Pro 10.1
- What’s new in Final Cut Pro 10.0.6
- What’s new in Final Cut Pro 10.0.3
- What’s new in Final Cut Pro 10.0.1
-
- Intro to effects
-
- Intro to transitions
- How transitions are created
- Add transitions
- Set the default transition
- Delete transitions
- Adjust transitions in the timeline
- Adjust transitions in the inspector and viewer
- Merge jump cuts with the Flow transition
- Adjust transitions with multiple images
- Modify transitions in Motion
-
- Add storylines
- Use the precision editor
- Conform frame sizes and rates
- Use XML to transfer projects
-
- Glossary
- Copyright

Invert effect masks in Final Cut Pro
In most cases, you use the built-in masking capability of a video effect, including a color correction, to limit the effect to a specific area or color. However, you can also invert your mask to exclude a specific area or color from the effect.
Add a clip to your Final Cut Pro project, and select the clip in the timeline.
Position the playhead in the timeline so that your clip appears in the viewer.
If the Video inspector isn’t already shown, do one of the following:
Choose Window > Show in Workspace > Inspector (or press Command-4).
Click the Inspector button on the right side of the toolbar.

Click the Video button at the top of the inspector.

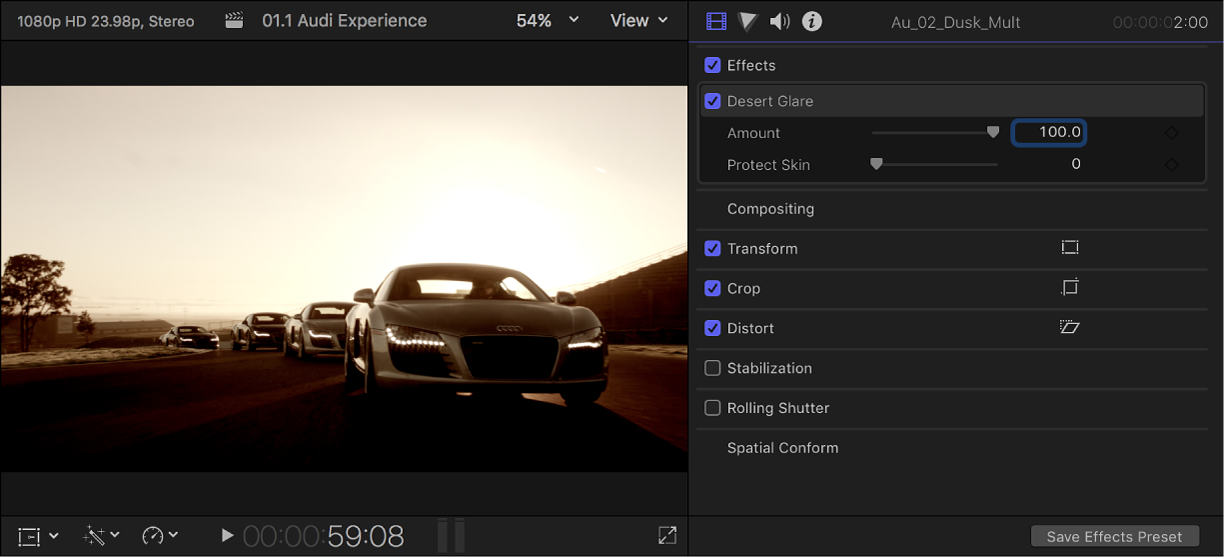
Add an effect to the timeline clip from the Effects browser.

Apply a shape mask or a color mask to the effect.
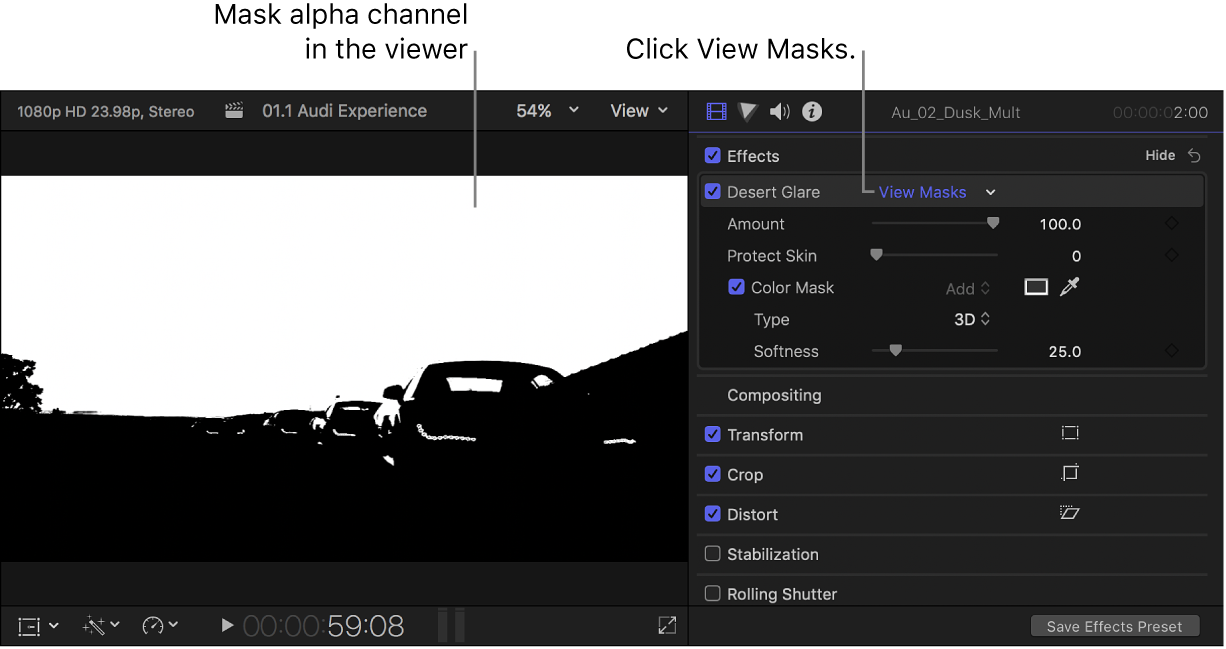
To make the mask alpha channel visible, click the View Masks pop-up menu (next to the effect name) and choose Black and White.
The mask’s alpha channel appears in the viewer. White indicates fully opaque mask areas, black indicates areas outside the mask, and levels of gray indicate transparent mask areas.
Note: You can also view the color contents of the mask. See Ways to view masks in Final Cut Pro.

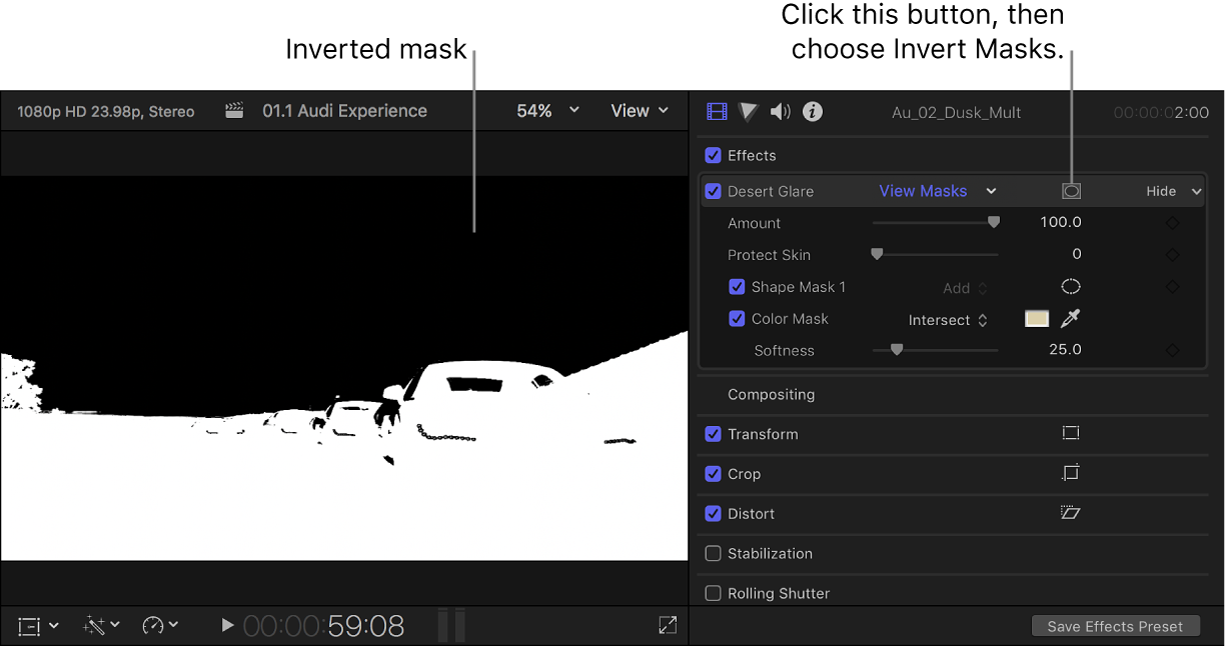
In the Effects section of the Video inspector, move the pointer over the effect name, click the Apply Effect Masks button
 , and choose Invert Masks from the menu that appears.
All mask selections for the effect are inverted (the masked and unmasked areas are reversed).

Download this guide: Apple Books | PDF