Make your videos clear, professional, and accessible by recording a voiceover with the audio recorder in Clipchamp.
The audio-only recorder lets you record your own voice, instead of separating your webcam recording and audio.
How to record audio only
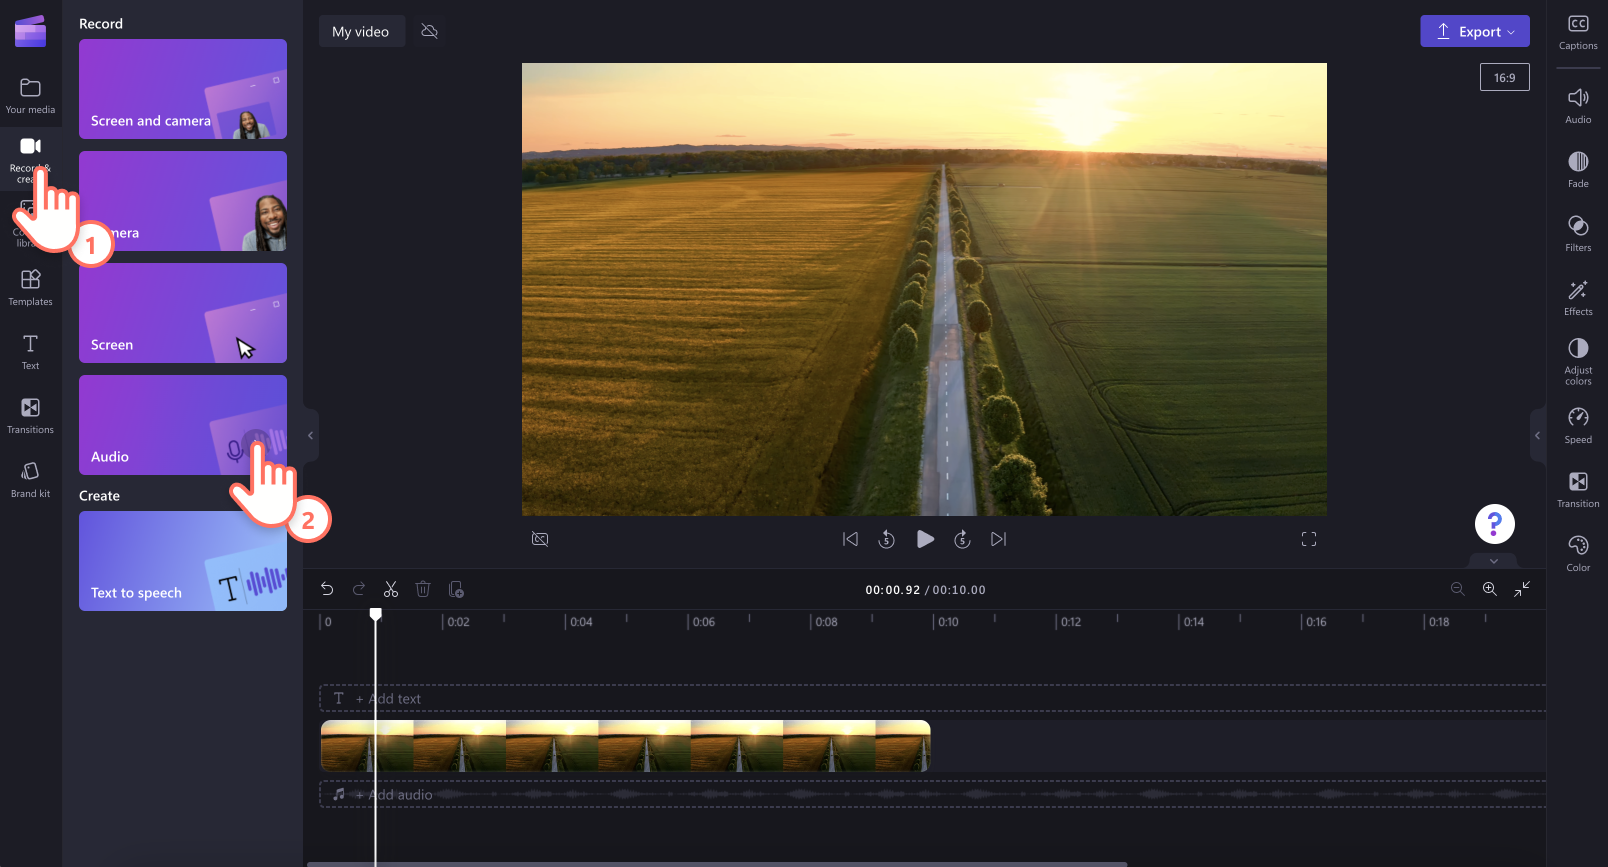
The audio recorder is located in the record & create tab for Clipchamp personal accounts.
Step 1. Select the audio option
To locate the audio recorder, open the record & create tab on the toolbar, then click on the audio option.
Step 2. Enable your microphone
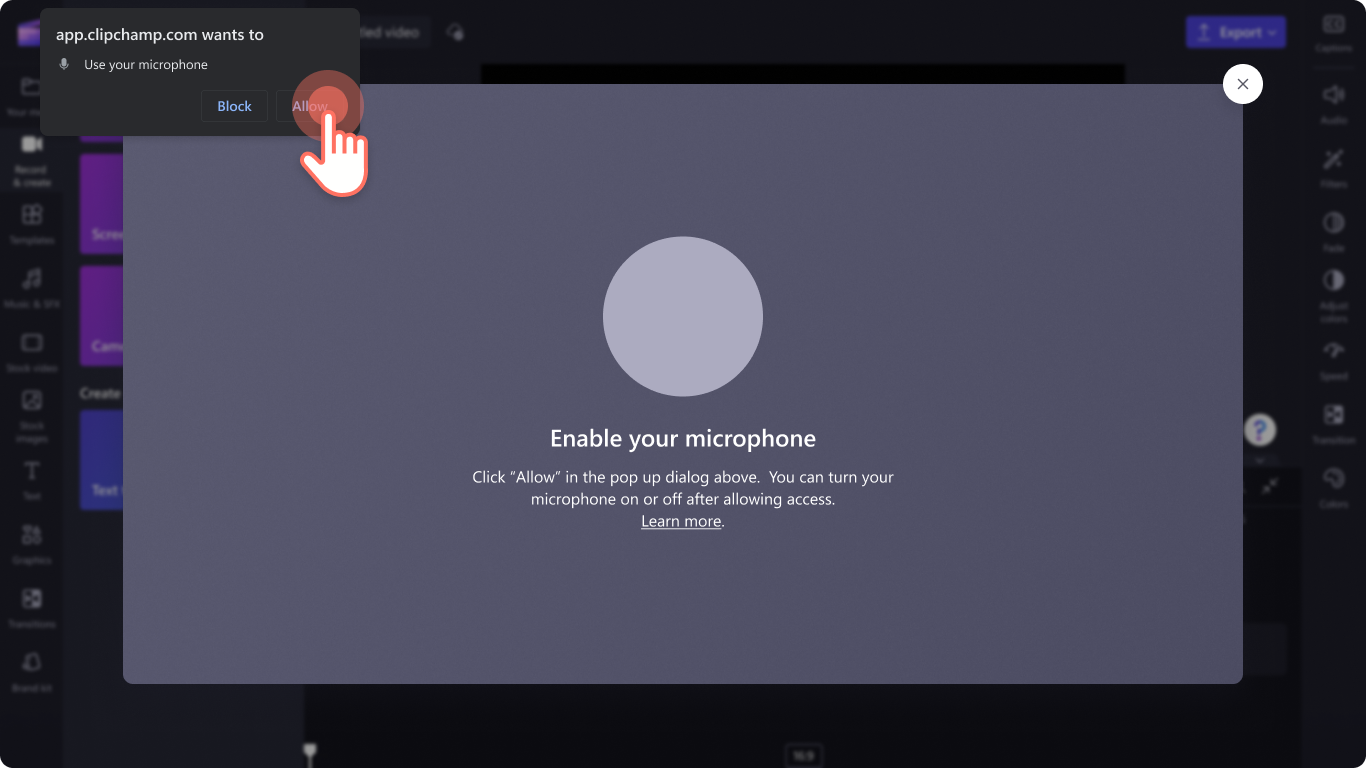
A popup window will appear with access options. Click on the allow button on the popup dialog. This will allow Clipchamp to use the microphone on your device.
Step 3. Record and save your voiceover
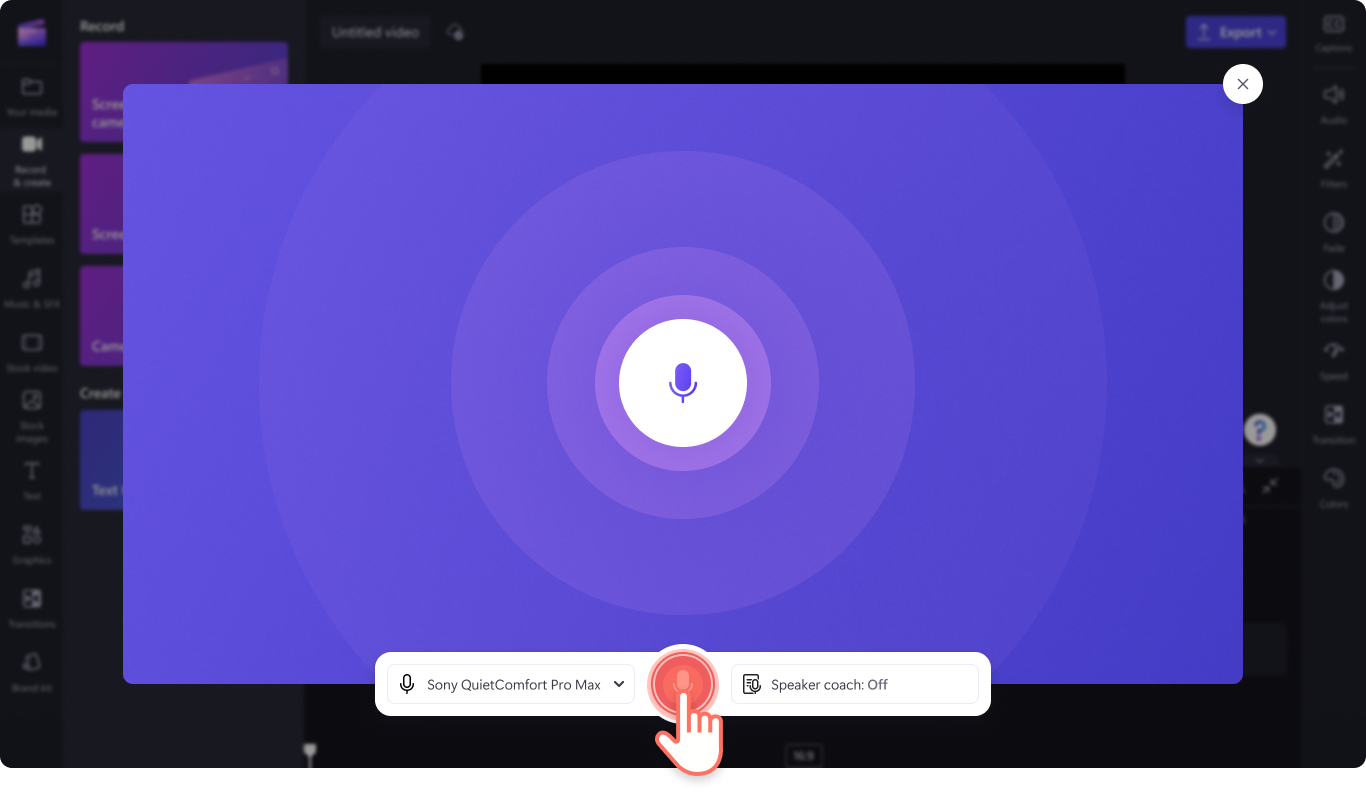
Click on the red microphone button to start recording your voiceover. Here you can view your microphone source and change it and enable or disable the speaker coach feature.
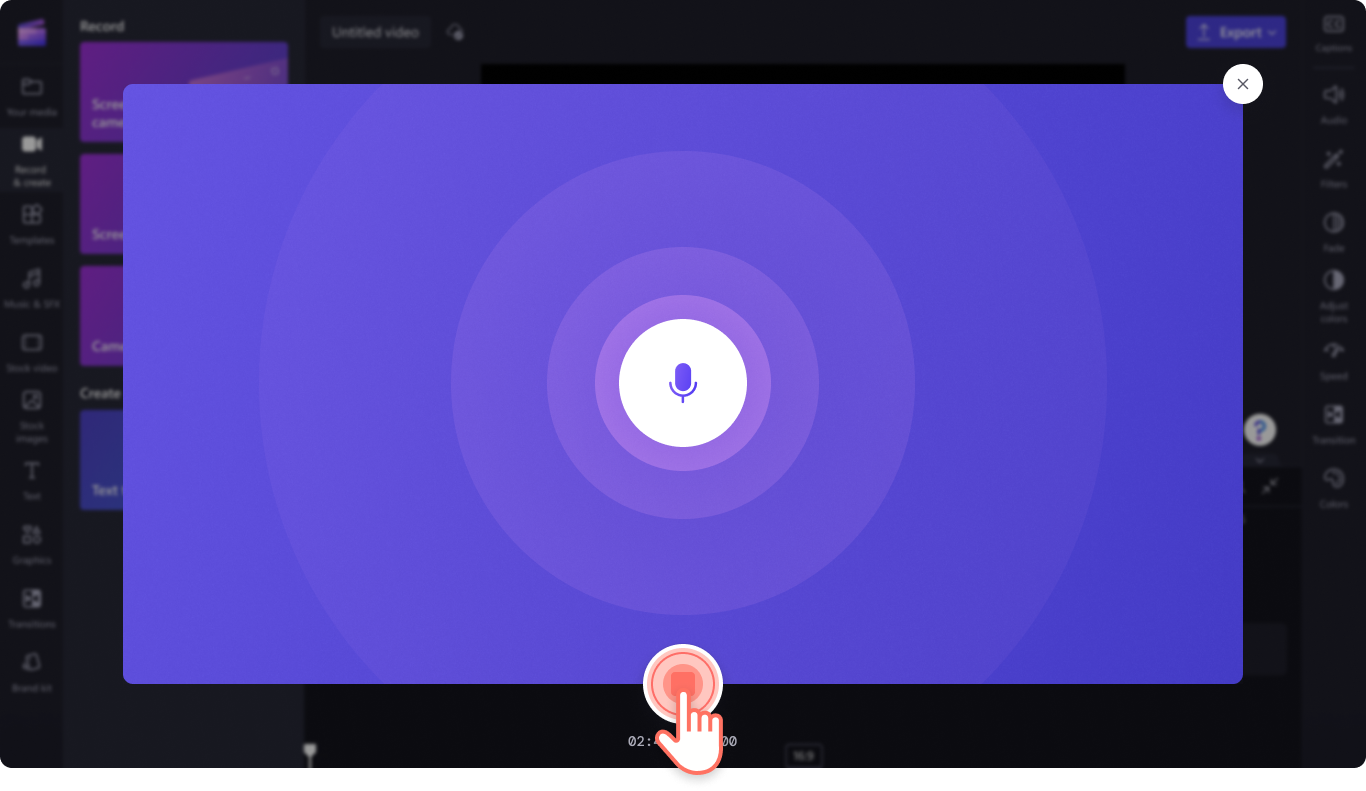
When you're ready to stop your voice recording, click on the stop button.
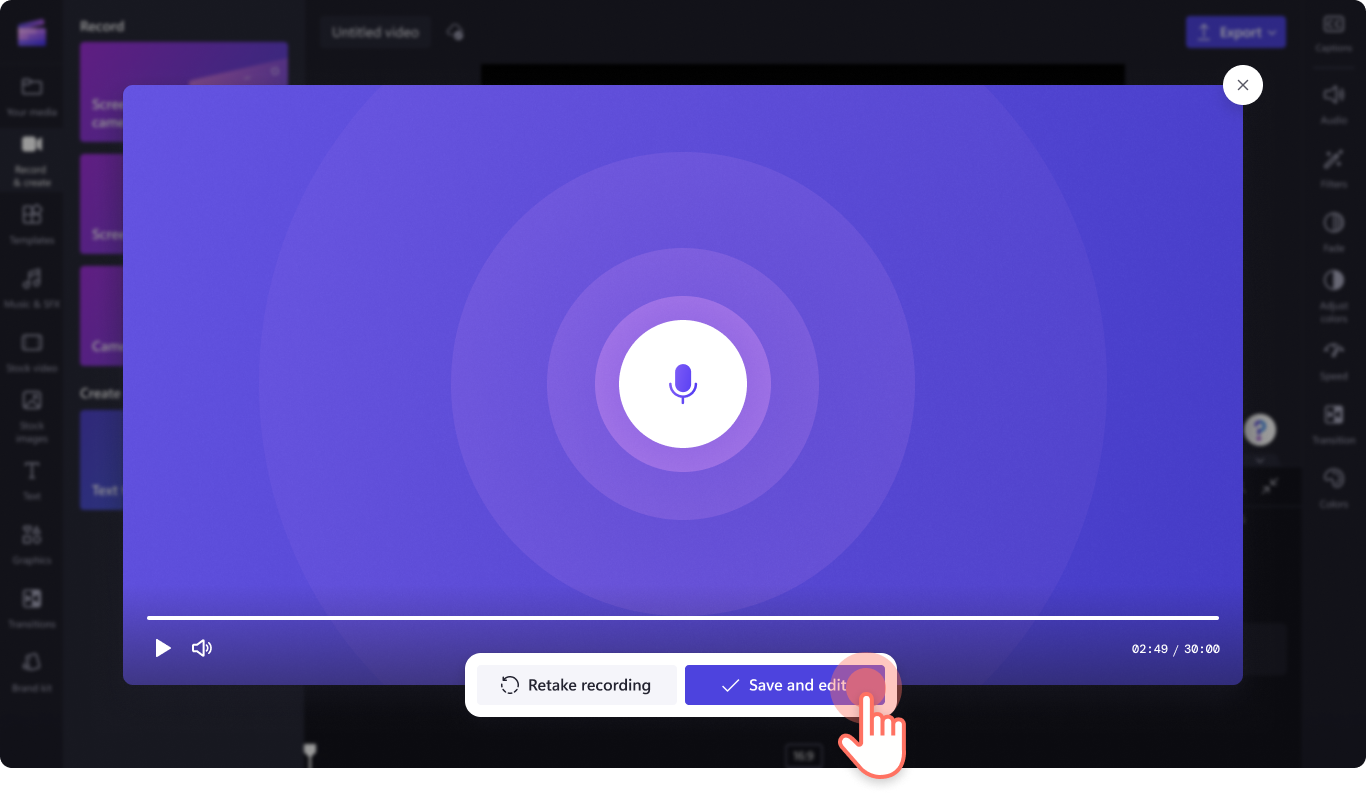
Next, preview your voiceover using the play button. You can redo your voiceover by clicking on the retake recording button. If you're happy with your voiceover, click on the save and edit button to save and return to the editor.
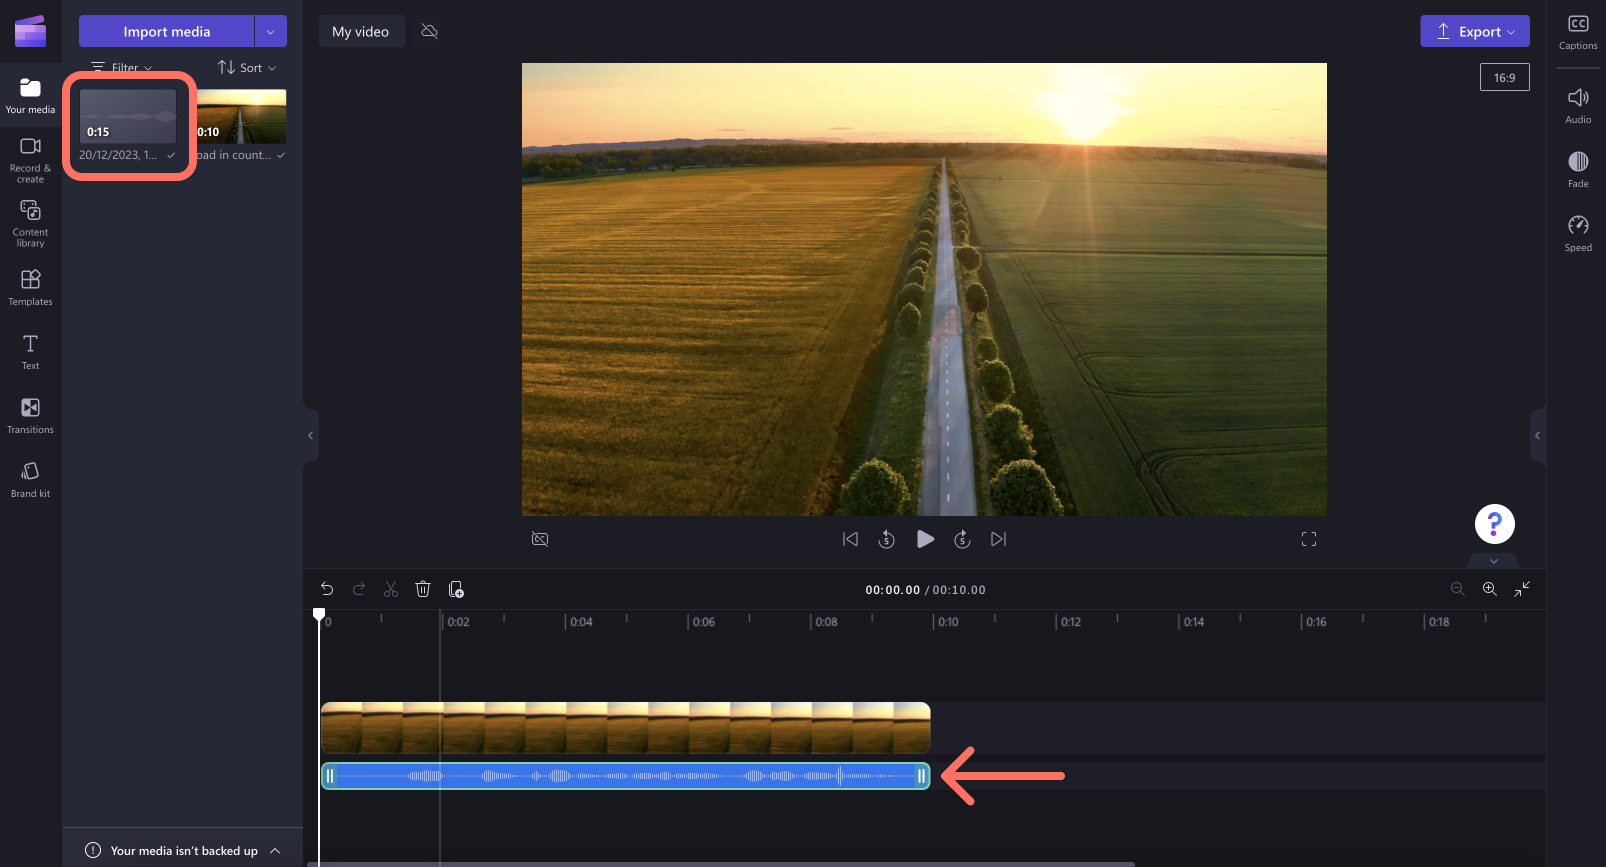
Your voiceover will automatically be added to the timeline and also appear in the your media tab on the toolbar.
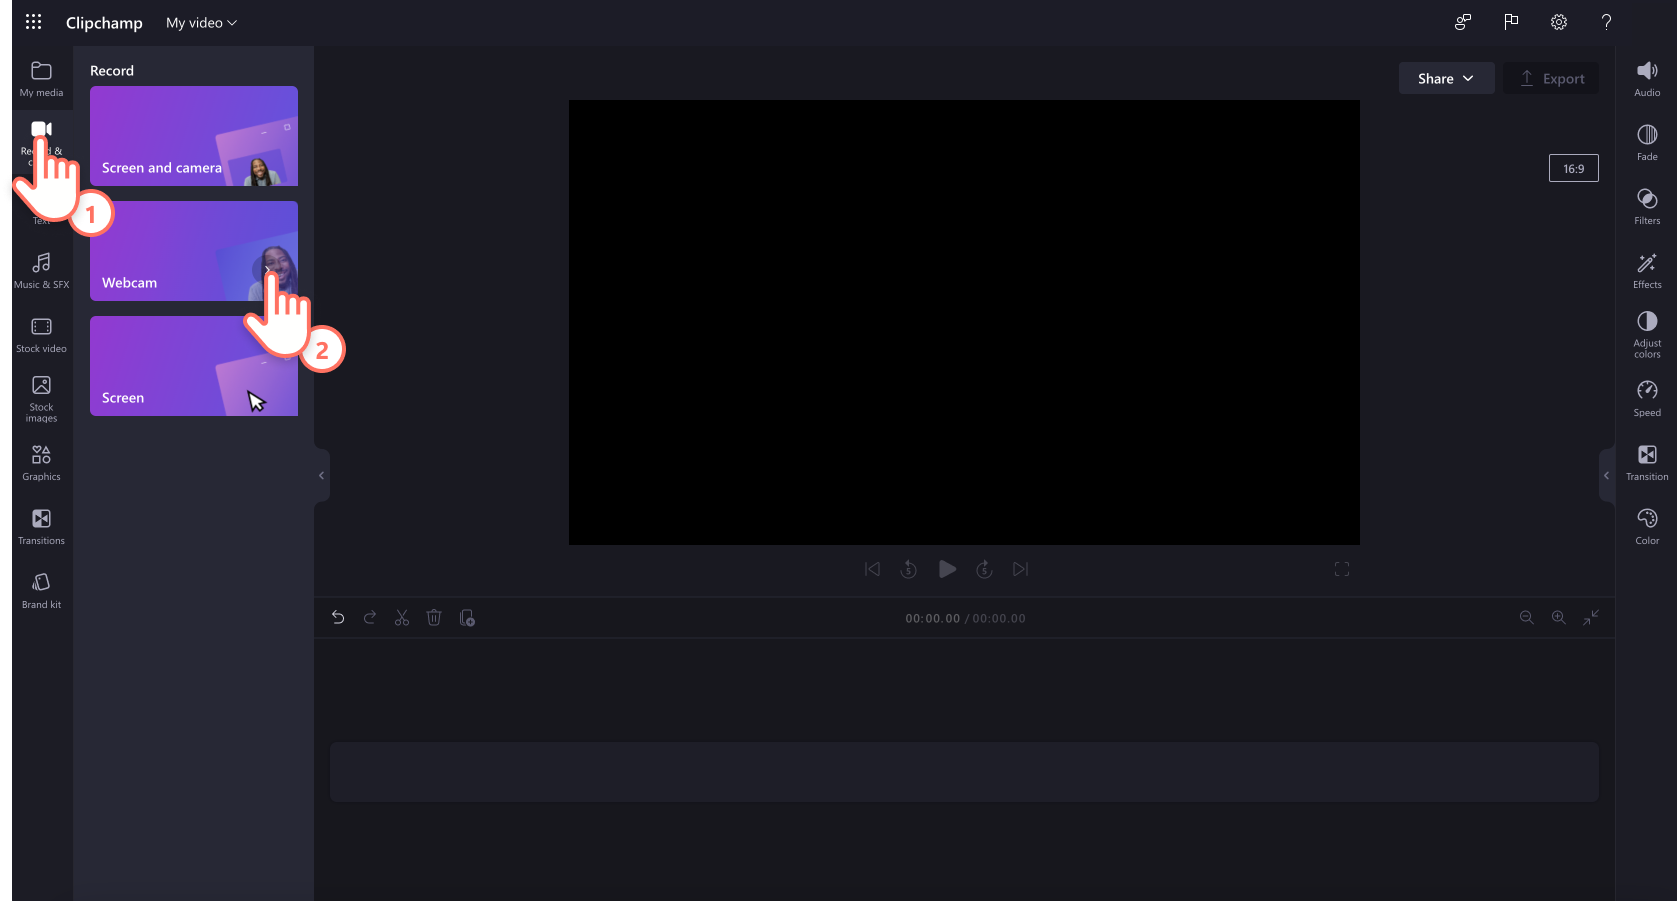
The audio recorder is located within the webcam recorder inside the record & create tab for Clipchamp work accounts.
Step 1. Click on the webcam recorder
To locate the audio recorder, open the record & create tab on the toolbar, then click on the webcam recorder.
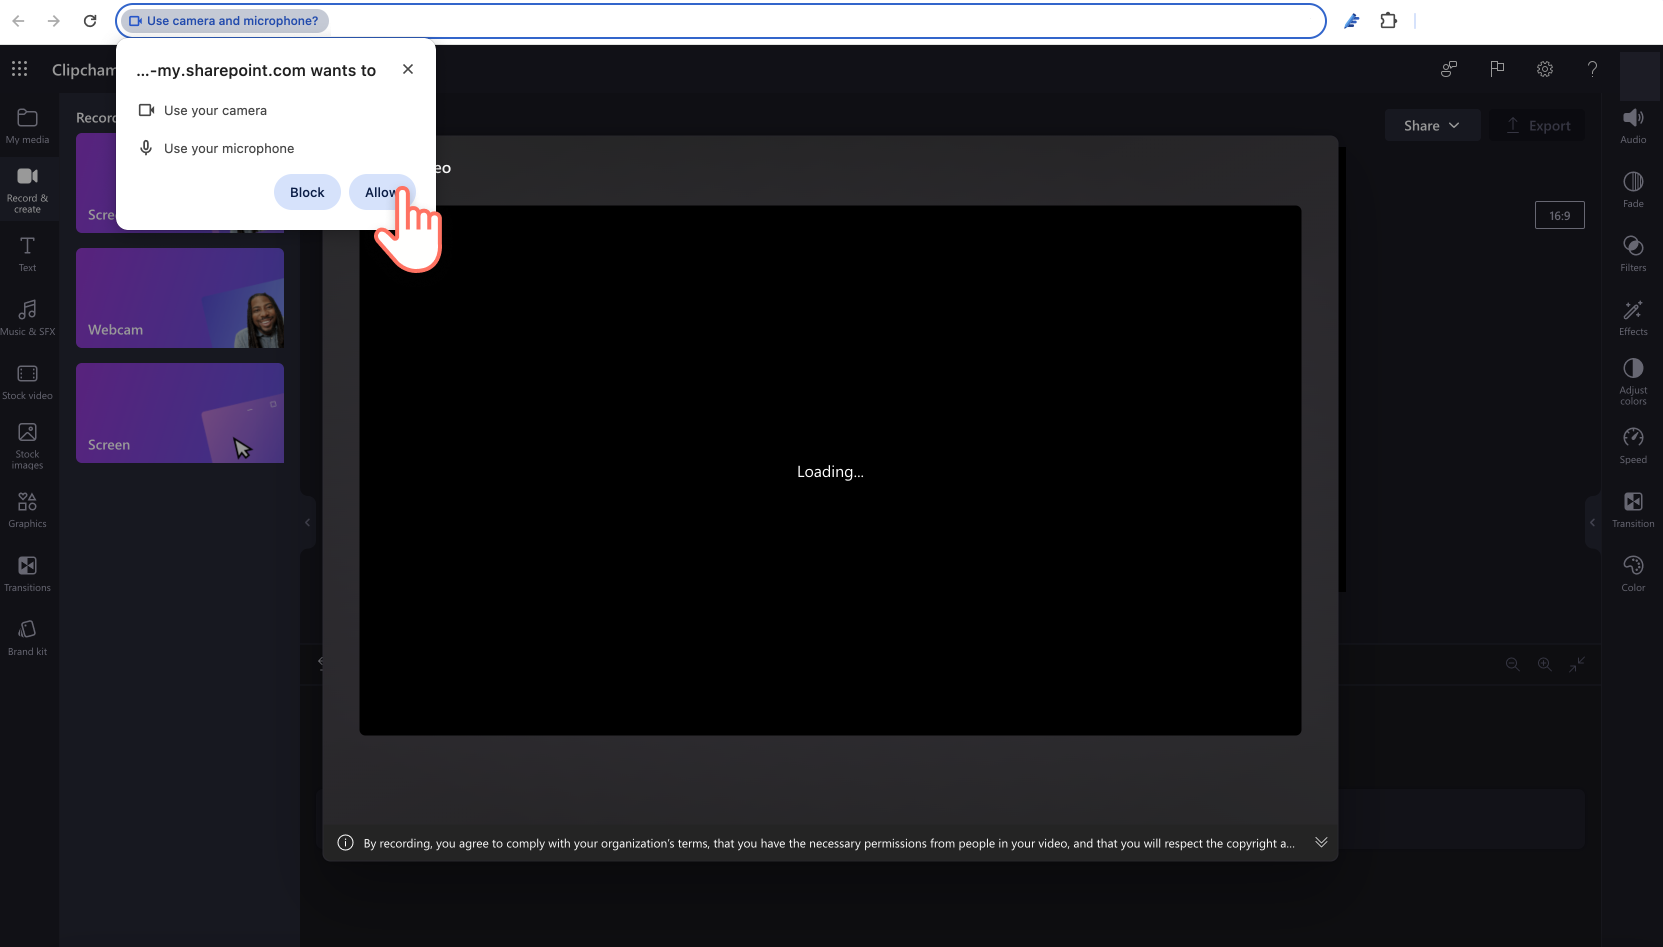
Step 2. Enable your microphone
A popup window will appear with access options. Click on the allow button on the popup dialog. This will allow Clipchamp to use the microphone on your device.
Step 3. Record and save your voiceover
Click on the audio button to switch from video to audio only. Next, click on the microphone button to start recording.
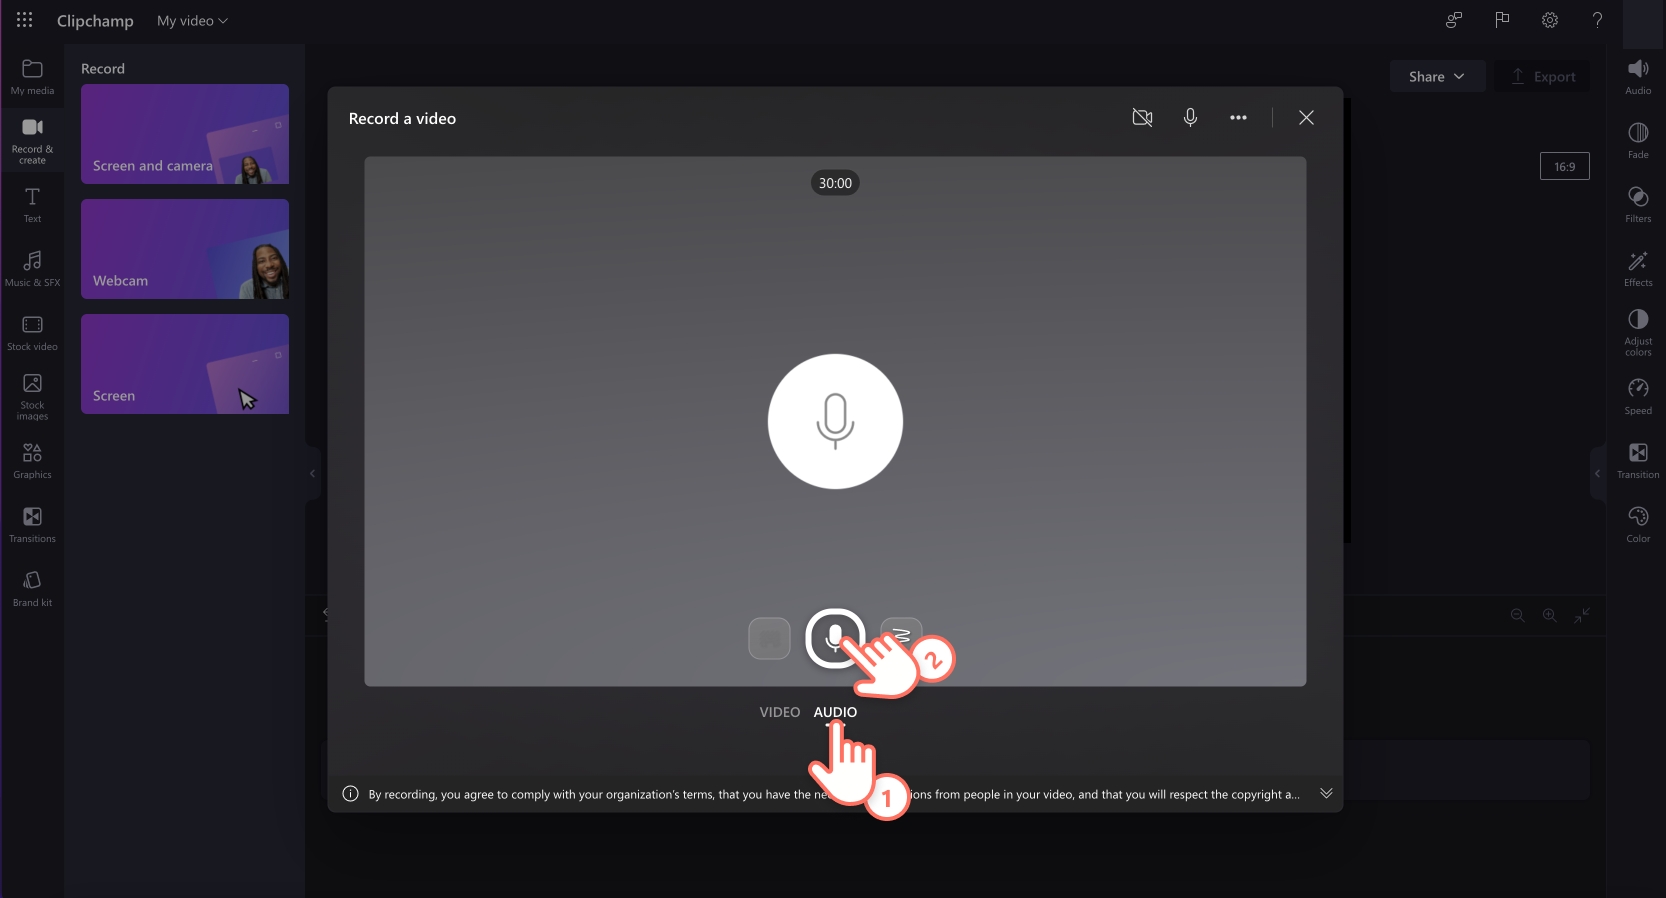
Once you're ready to save your voice recording, click on the stop button then click on the next button. Here, you can also click record again to retake your recording.
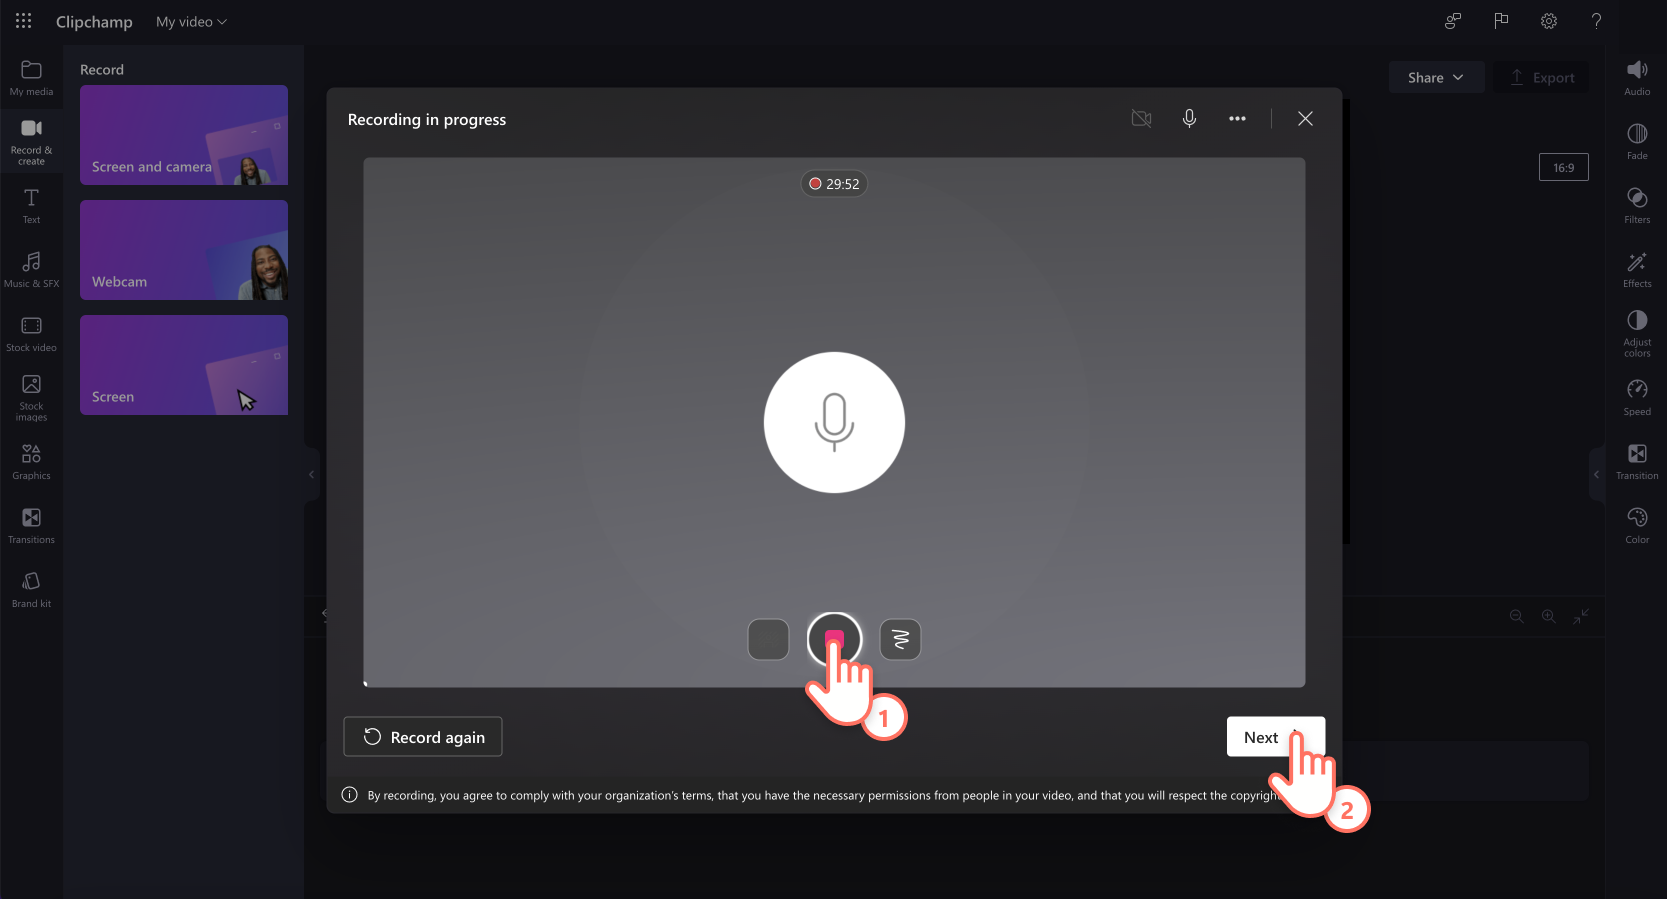
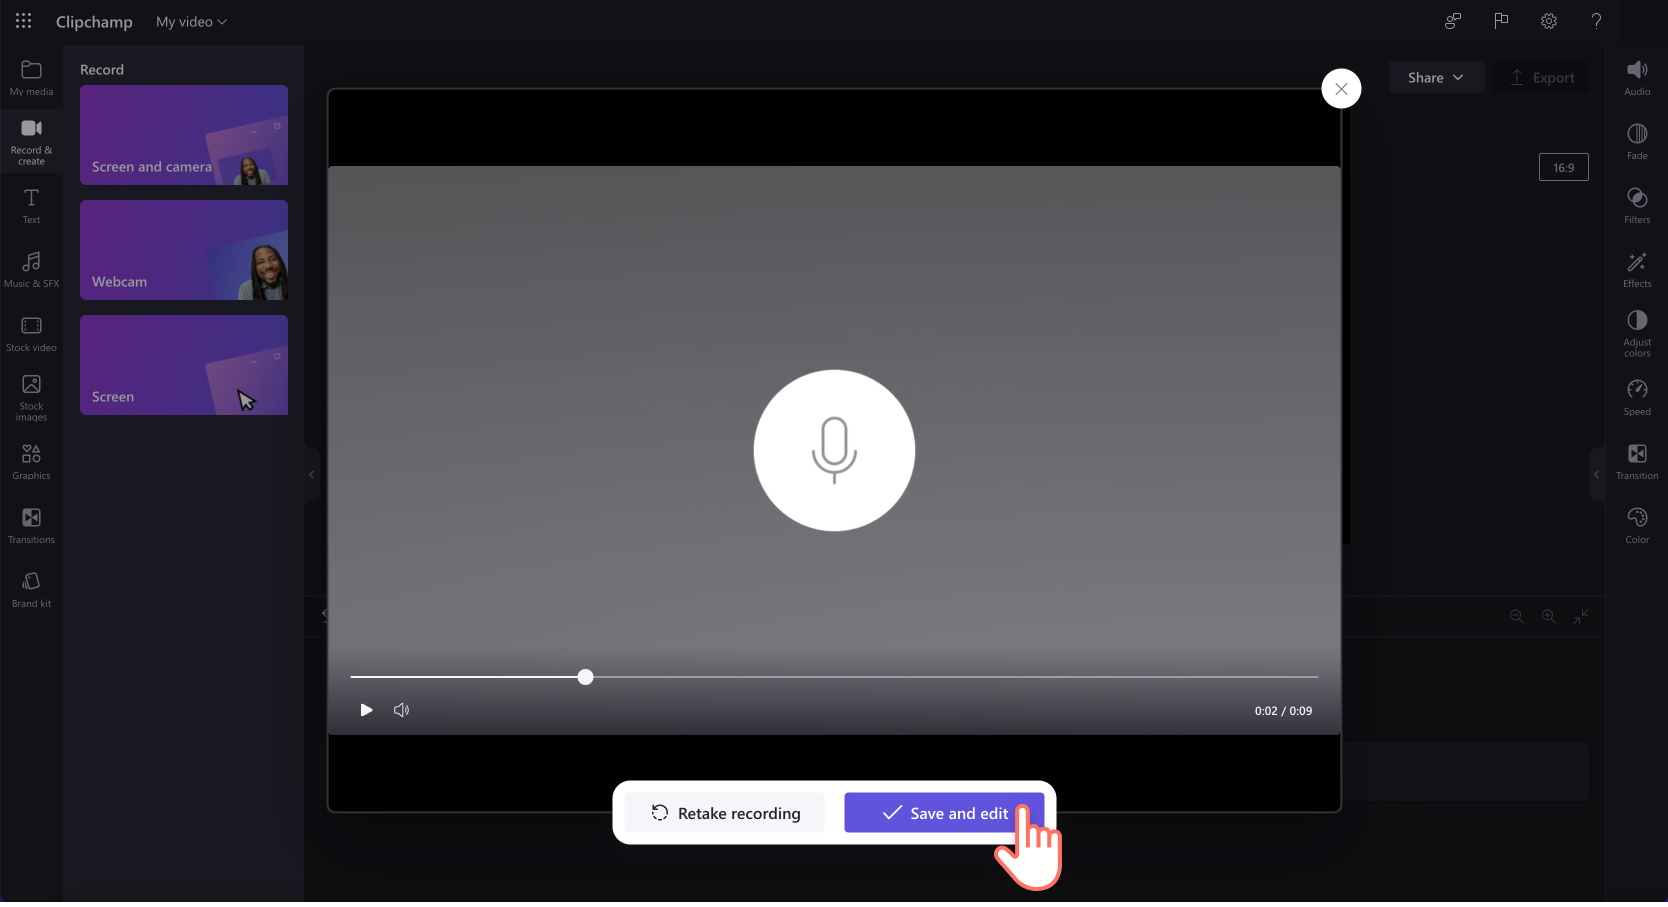
Next, preview your voiceover using the play button. You can redo your voiceover by clicking on the retake recording button. If you're happy with your voiceover, click on the save and edit button to save and return to the editor.
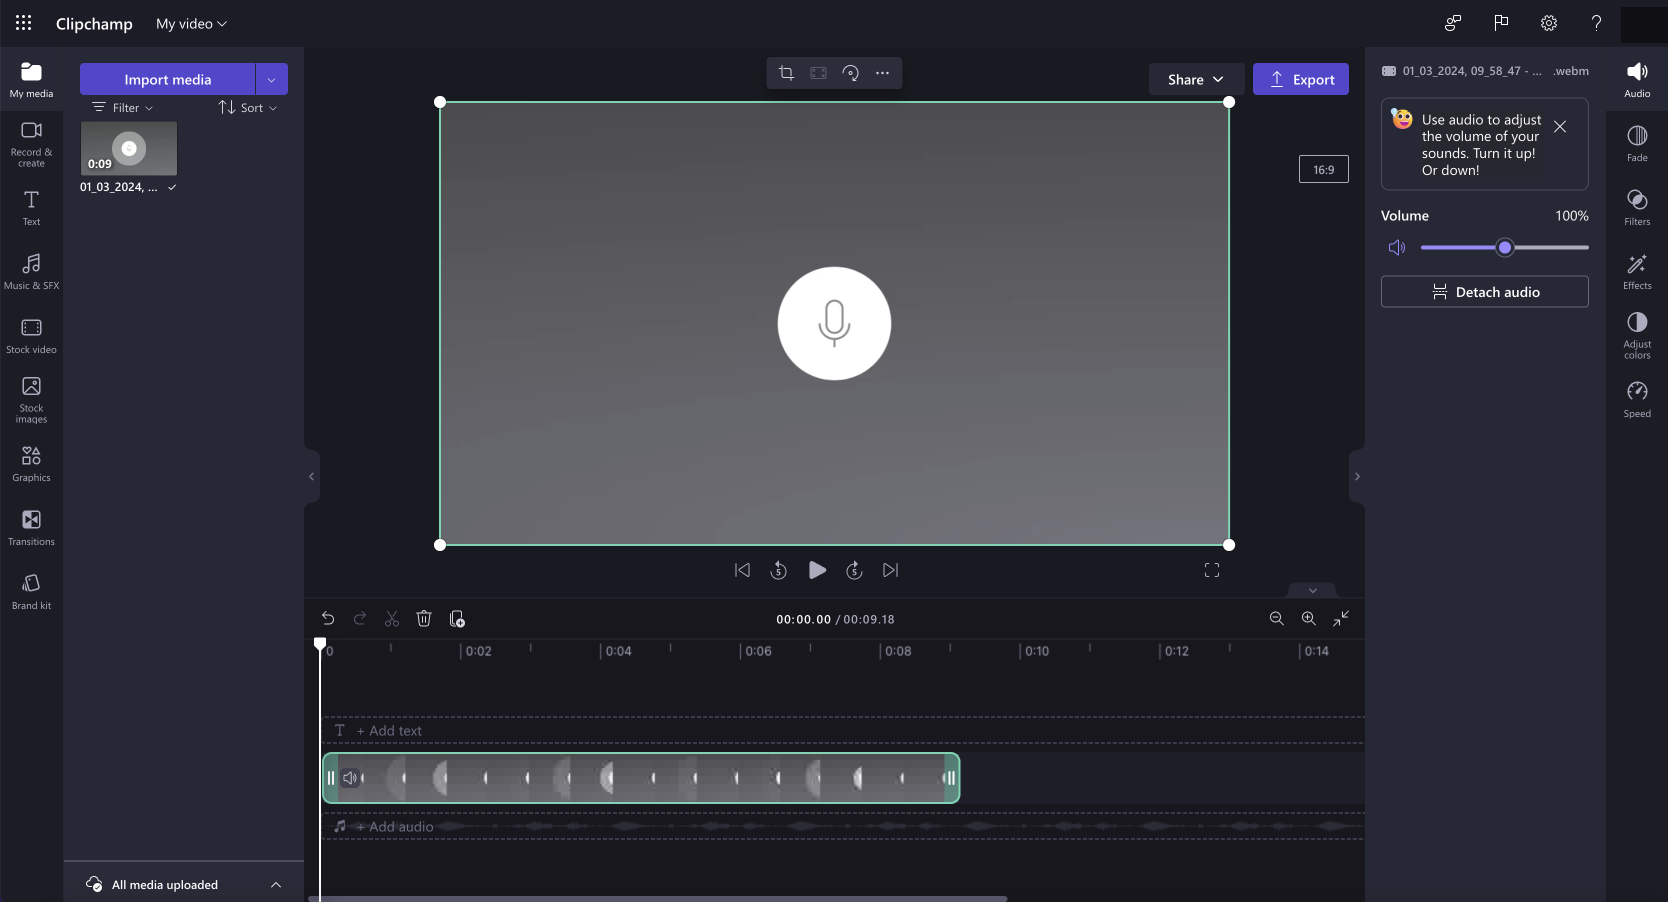
Your voiceover will automatically be added to the timeline and also appear in the your media tab on the toolbar as an MP4 file.
Note: Voiceovers in Clipchamp for work are currently MP4 files and will appear on the timeline as videos.
Step 4. Detach audio and video
To turn your voice recording into an MP3 file, just detach your audio from video. Click on the video in the timeline so it's highlighted in green. Next, either right click on the timeline, then click audio > detach or click on the detach audio button in the property panel.
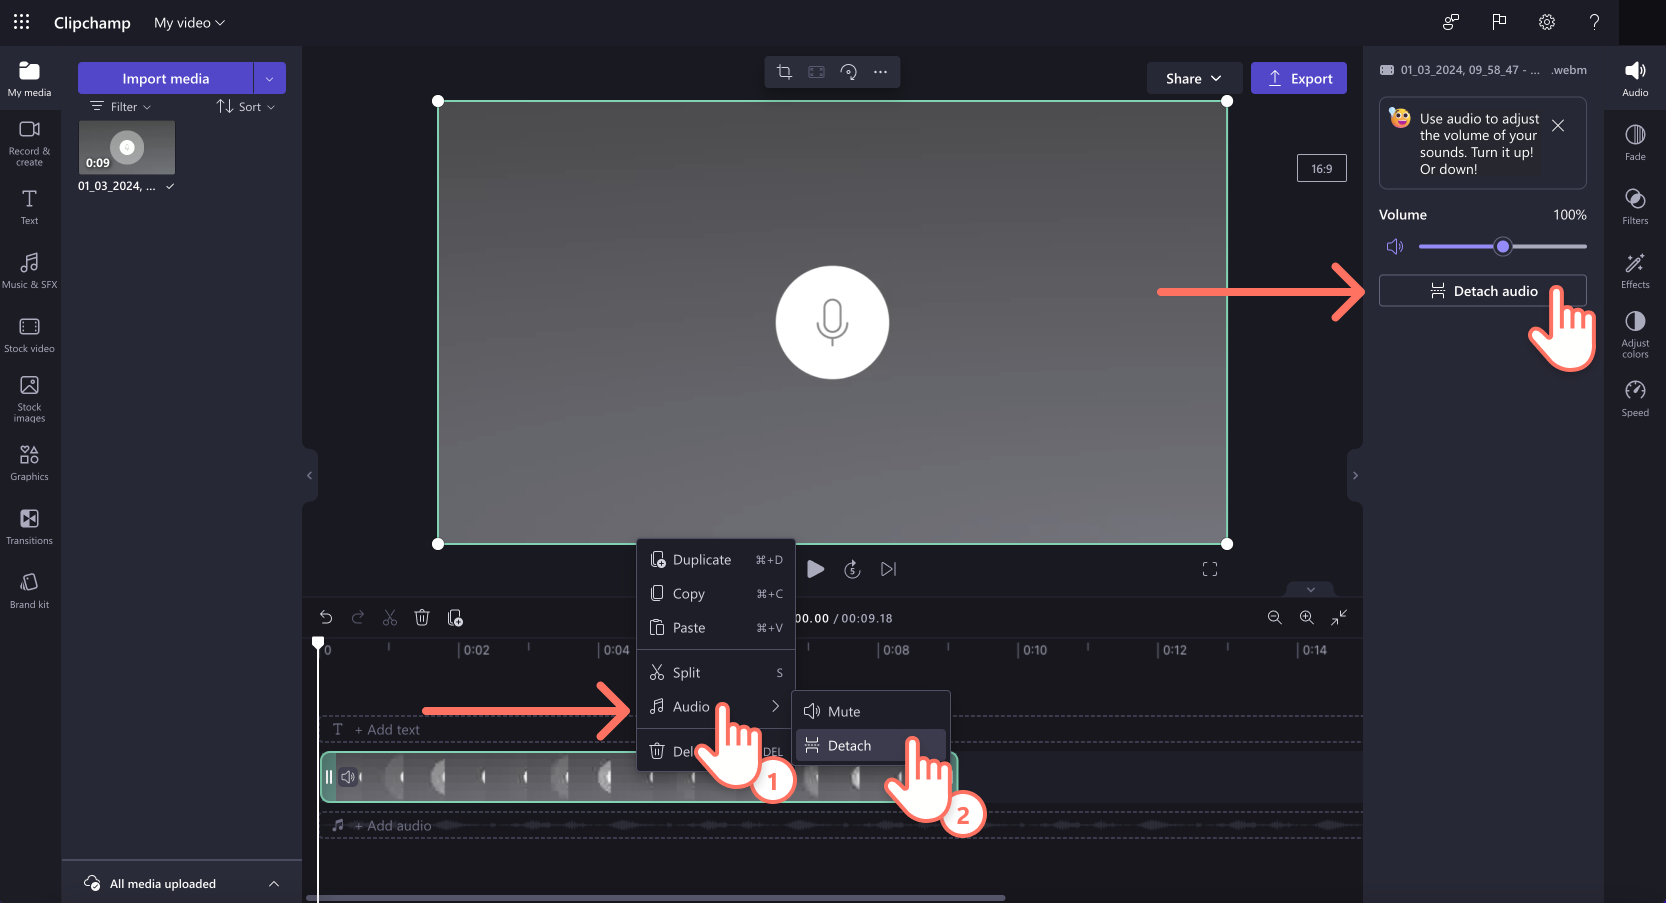
Your audio will now be separated from your video in the timeline and appear as an MP3 file in the your media tab.
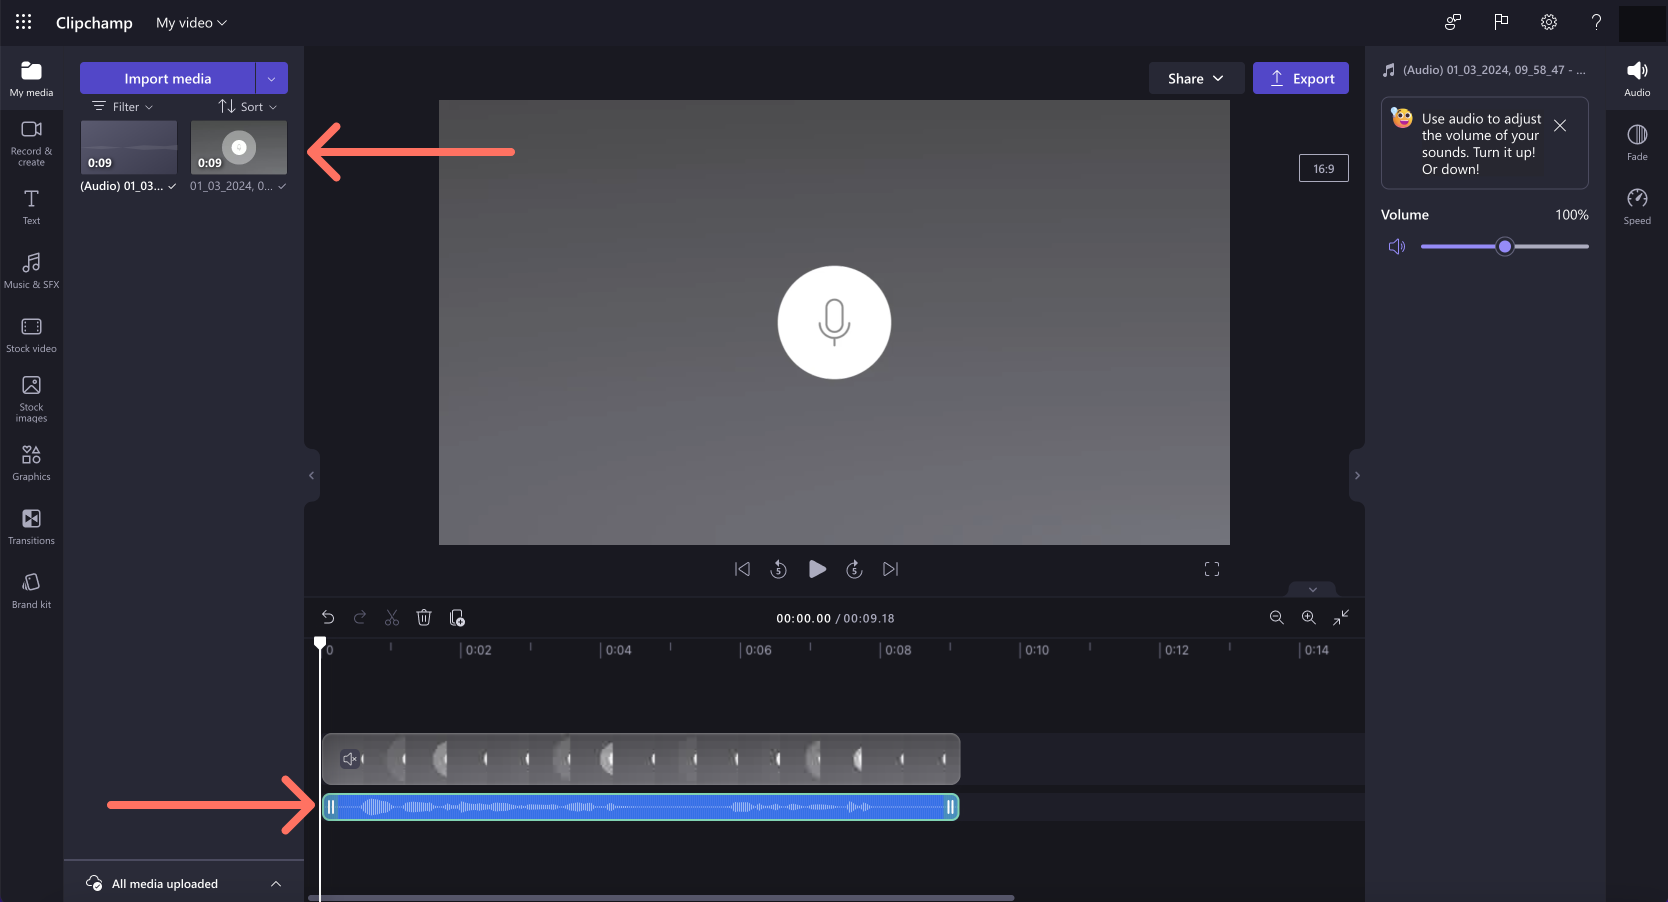
You can now edit and customize your audio with the same steps below.
How to customize your audio recording
Turn up or down the volume
To adjust the volume of your audio recording, click on the audio tab on the property panel. Use the volume slider to adjust the volume percentage. Slide to the left to turn down the volume, or slide to the right to make your volume louder.

Fade in or fade out audio
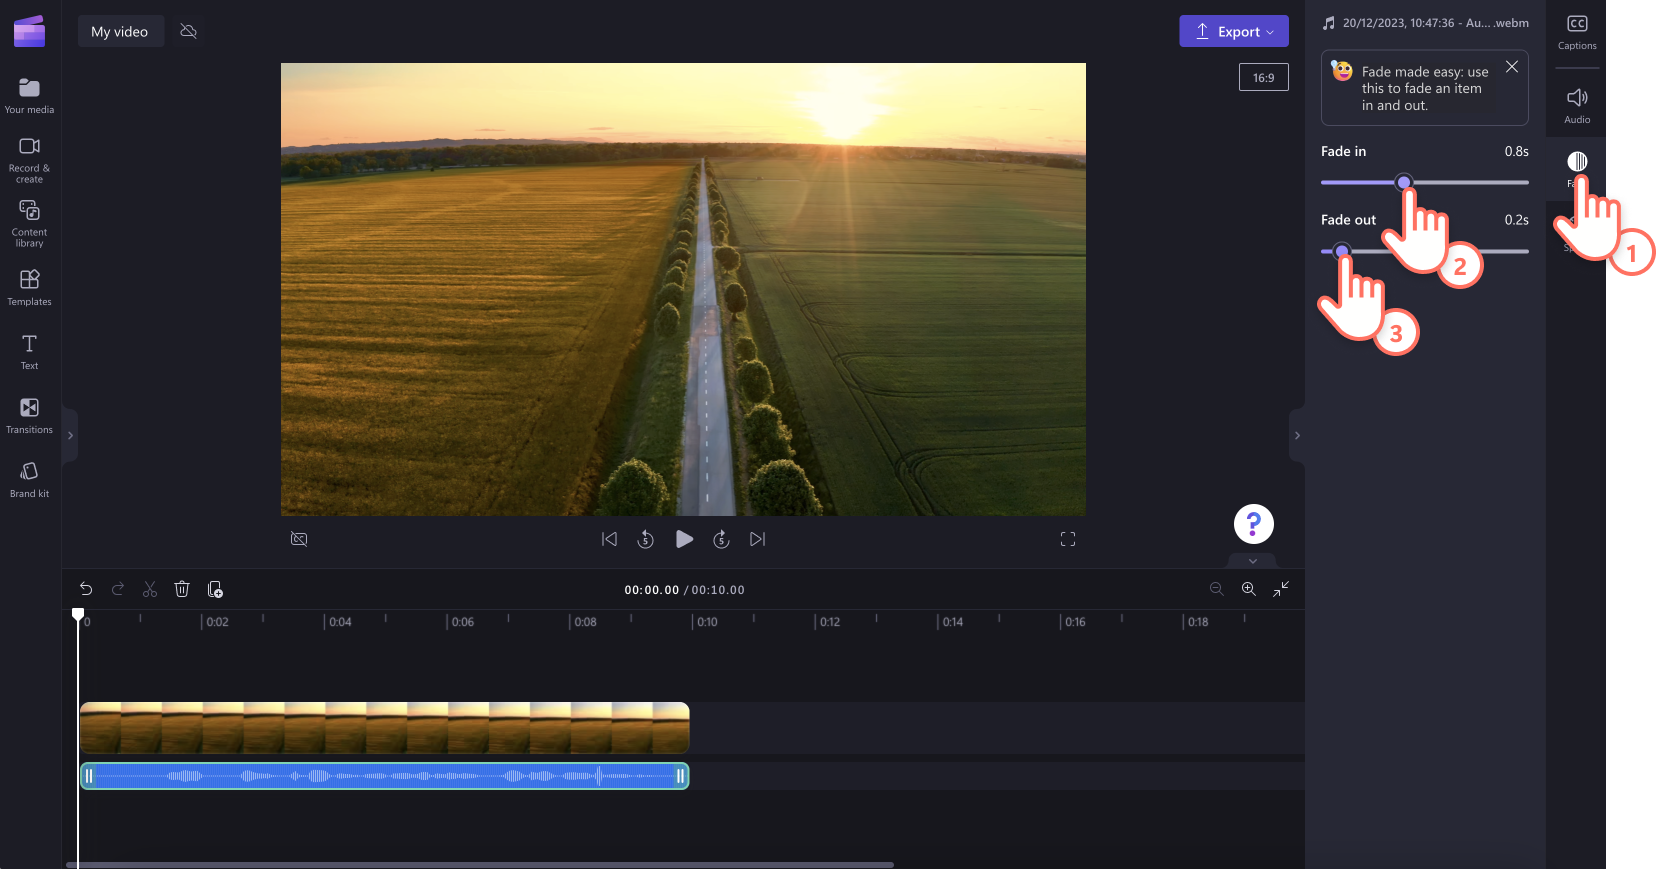
To add fades to your audio recording, click on the fade tab on the property panel. Slide the fade in and fade out sliders to the right to add fades.
Edit the speed of your audio
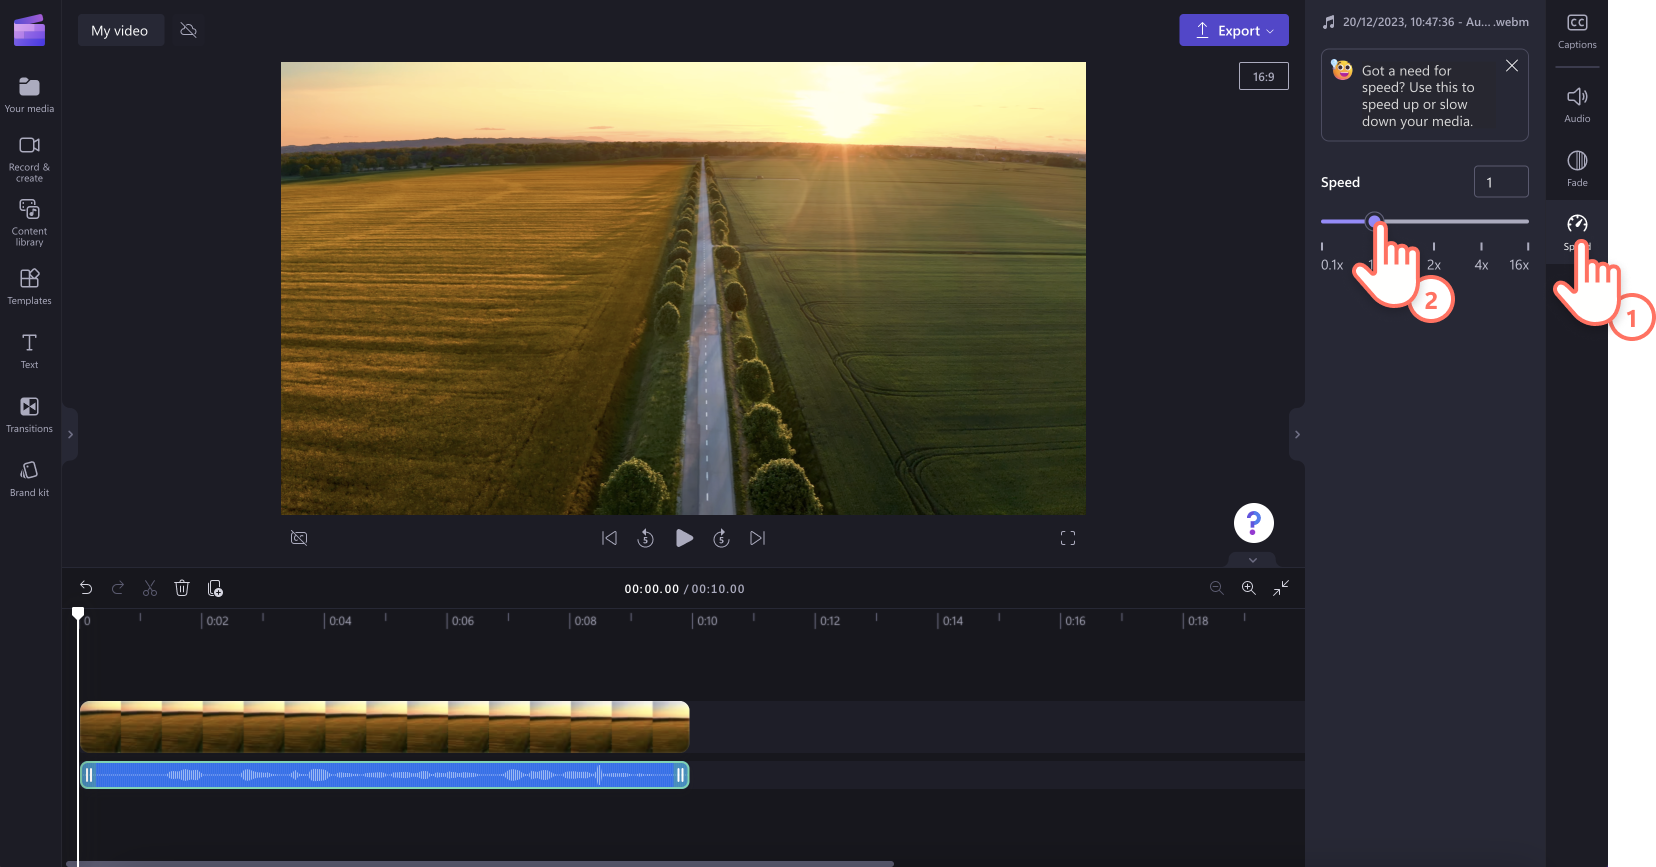
To speed up or slow down your audio recording, click on the speed tab on the property panel. Using the speed selector, drag the slider to the left to slow down your audio, or to the right to speed up your audio. Choose from 0.1x to up to 16x speed options or input a specific value.
NOTE: Editing the speed of your audio will also change the length of the asset on your timeline. The faster the speed, the shorter the asset duration, and the slower the speed, the longer the asset duration.
How to delete an audio recording
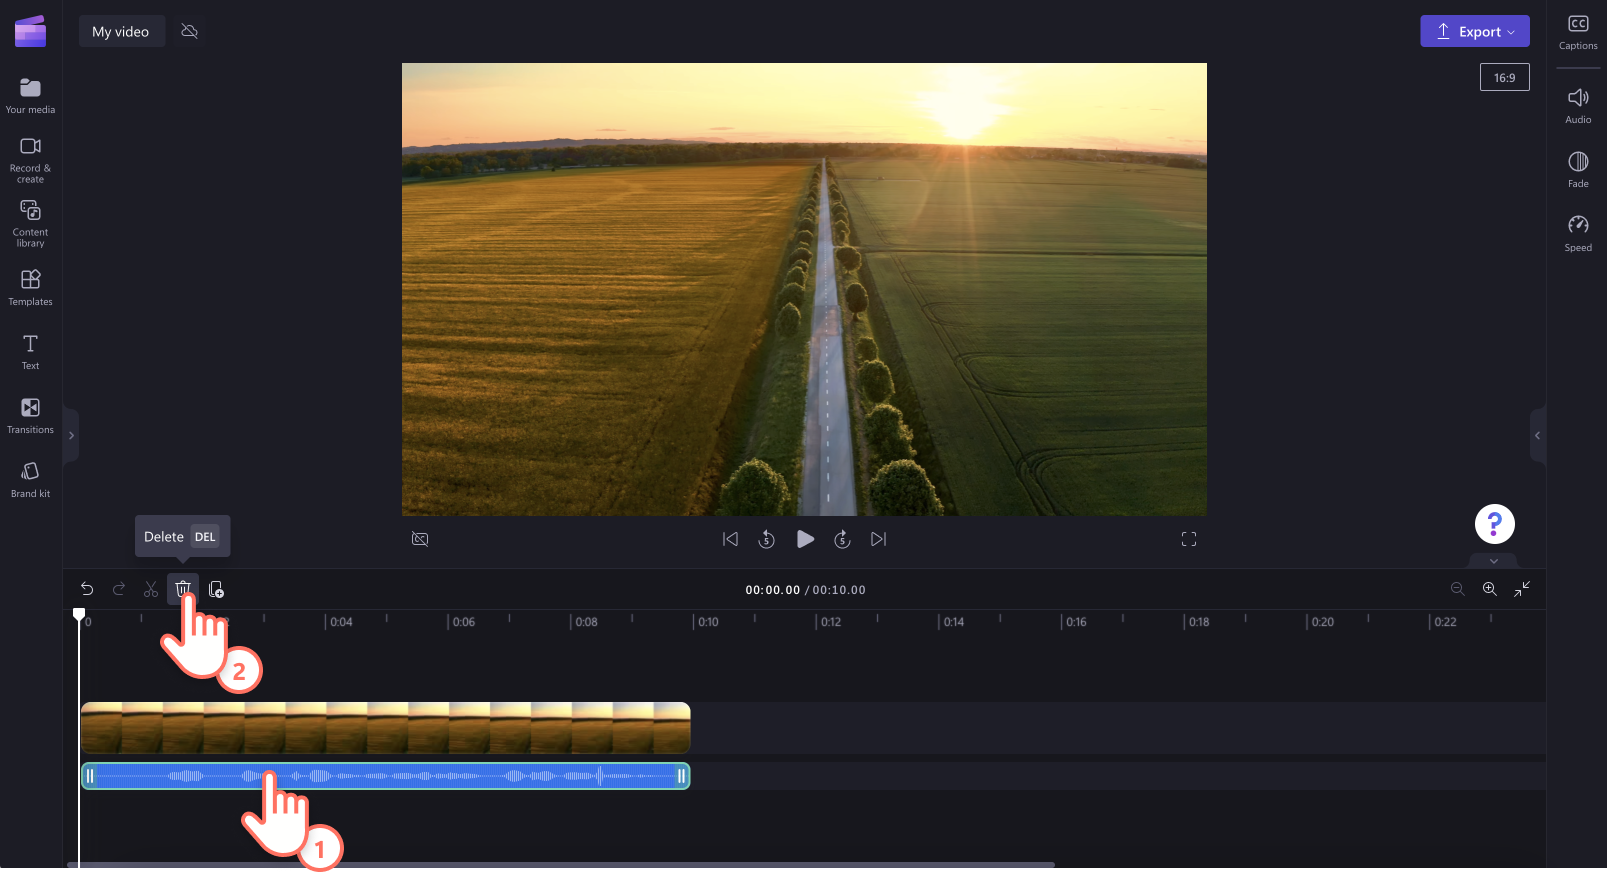
To delete your audio asset on the timeline, click on the asset so it's highlighted green, then click on the trash can button to delete the asset.
How to edit an audio recording
After making a recording and adding it to the timeline, it's possible anymore to change contents of the recording. Therefore, if you need to make any changes to your audio recording or made a mistake, we recommend deleting your audio track and recording a new take.
How to create and download an audio recording transcript
To download a transcript SRT file for your audio recording, you can turn on the autocaptions feature. Select the captions tab on the property panel, then turn on autocaptions. Next, download the transcript. For more help with this feature, see: How to use autocaptions.


