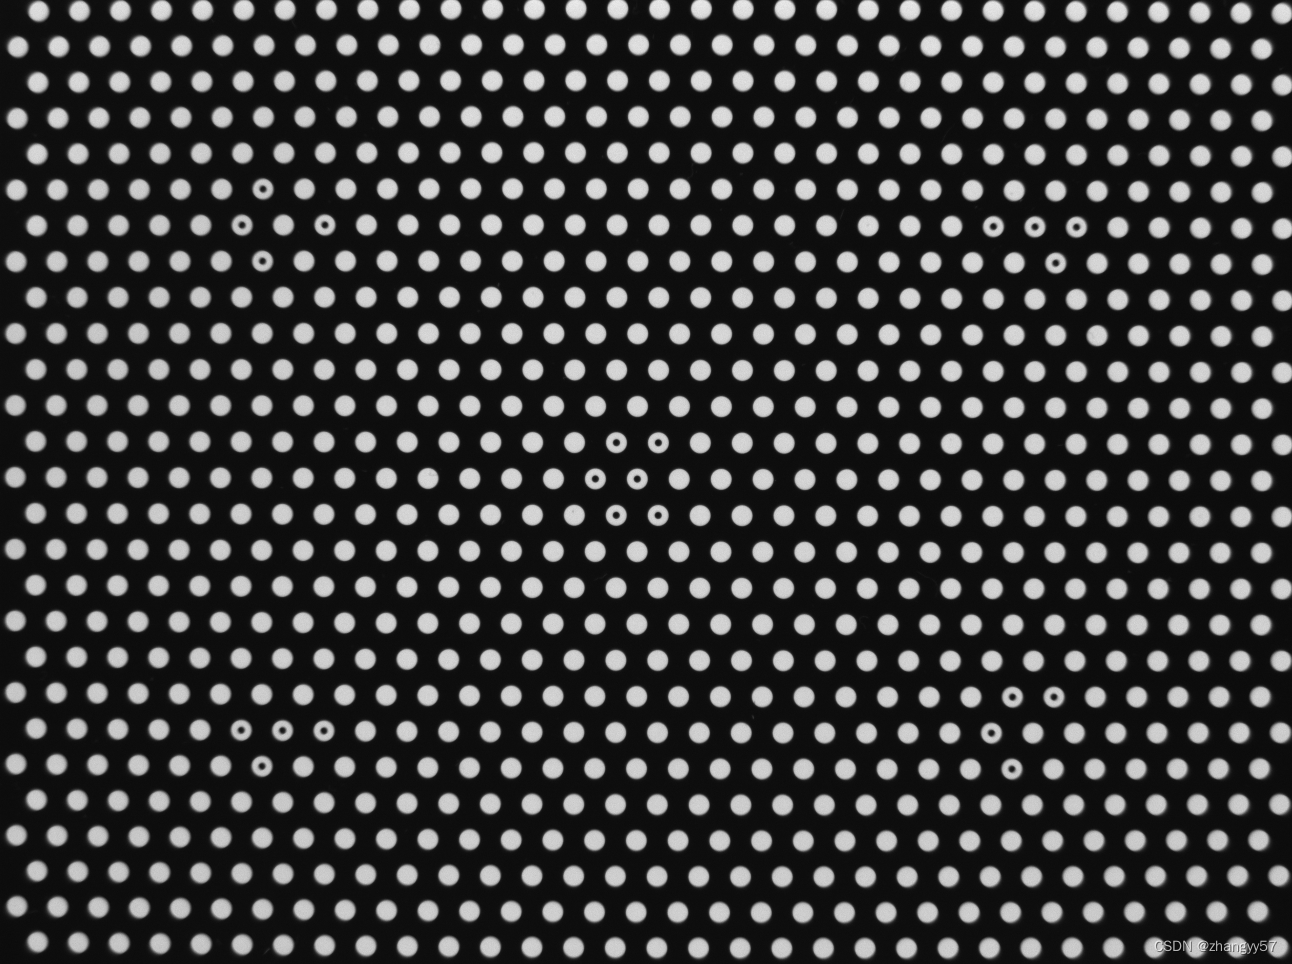
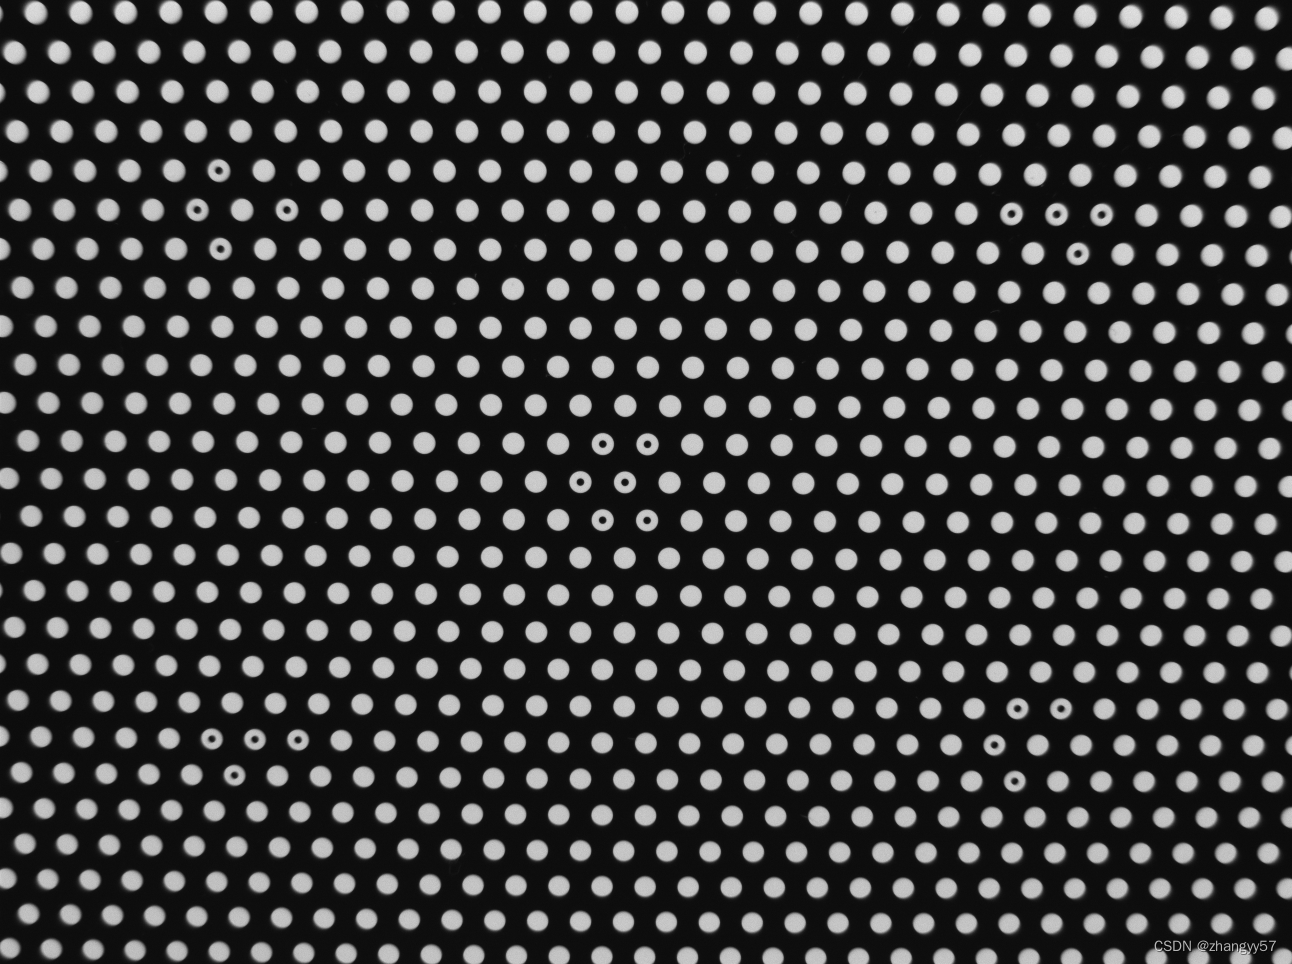
以下代码是使用HALCON软件的脚本语言编写的,主要功能是进行相机标定。相机标定是机器视觉和计算机视觉中的一个关键步骤,用于确定相机的内在参数(如焦距、畸变系数)和外在参数(如相机相对于标定板的位置和方向)
list_image_files (‘calib’, ‘default’, [], AllCalibImageFiles)
tuple_regexp_select (AllCalibImageFiles, ‘calib_single_camera’, ImageFiles)
read_image (Image, ImageFiles[0])
get_image_size (Image, Width, Height)
*
dev_close_window ()
dev_open_window_fit_size (0, 0, Width, Height, 600, -1, WindowHandle)
set_display_font (WindowHandle, 14, ‘mono’, ‘true’, ‘false’)
get_window_extents (WindowHandle, Row, Column, WindowWidth, WindowHeight)
dev_open_window (0, WindowWidth + 12, 1000 - WindowWidth, WindowHeight, ‘white’, WindowHandleConfig)
set_display_font (WindowHandleConfig, 14, ‘mono’, ‘true’, ‘false’)
*
- Create the 3d object models that visualize the current configuration
- of camera and calibration plate. This may take a moment.
Message := ‘Creating 3D object models for visualization…’
disp_message (WindowHandle, Message, ‘window’, 12, 12, ‘gray’, ‘false’)
create_models (MarksModel, PlateModel, CamModel, BaseModel)
disp_message (WindowHandle, ‘Ready.\nNow starting example…’, ‘window’, 32, 12, ‘gray’, ‘false’)
wait_seconds (.5) - Part I
- Create and setup the calibration model
- First, create the calibration data structure
create_calib_data (‘calibration_object’, 1, 1, CalibDataID) - Specify the used calibration plane using the name of the
- description file
CalPlateDescr := ‘calplate_80mm.cpd’
set_calib_data_calib_object (CalibDataID, 0, CalPlateDescr) - Set the initial camera parameters
- focus: 0.008 (use the nominal focal length of the used lens)
- kappa: 0 (parameter for the division model for the lens distortion)
- sx, sy: 3.7 μm (nominal pixel size of the used sensor)
- cx, cy: 646,482 (use center of the image as initial values
-
for the principal point) - ImageWidth, ImageHeight (width and height of the used images)
StartParam := [0.008,0,3.7e-006,3.7e-006,646,482,1292,964]
set_calib_data_cam_param (CalibDataID, 0, ‘area_scan_division’, StartParam) - Part II
- Extract calibration marks from the calibration images
for Index := 0 to |ImageFiles| - 1 by 1
read_image (Image, ImageFiles[Index])
* Extract the calibration marks.
find_calib_object (Image, CalibDataID, 0, 0, Index, [], [])
*
* Visualize the extracted marks
*
get_calib_data_observ_pose (CalibDataID, 0, 0, Index, StartPose)
if (Index == 0)
* Just for visualization:
* Create a 3D model of the viewing volume based on the
* extracted pose in the first image.
* (Assume that in image 0 the calibration plate is placed
* on the base plate.)
create_pose (0.0, 0.0, StartPose[2] + 0.01, 0, 0, 0, ‘Rp+T’, ‘gba’, ‘point’, BasePoseWorld)
create_viewing_volume (StartParam, StartPose[2] + 0.001, VolumeModel)
CamWidth := 1000 - WindowWidth
CamHeight := WindowHeight
CamPar := [0.016,0,2.2e-6,2.2e-6,CamHeight / 2,CamWidth / 2,CamHeight,CamWidth]
* setup the visualization scene
create_scene_3d (Scene)
add_scene_3d_camera (Scene, CamPar, CameraIndex)
create_pose (0.0, 0.0, 0.0, 0, 0, 0, ‘Rp+T’, ‘gba’, ‘point’, Origin)
*
add_scene_3d_instance (Scene, CamModel, Origin, InstanceCamera)
set_scene_3d_instance_param (Scene, InstanceCamera, ‘color’, ‘blue’)
set_scene_3d_instance_param (Scene, InstanceCamera, ‘disp_pose’, ‘true’)
*
add_scene_3d_instance (Scene, BaseModel, BasePoseWorld, InstanceBase)
set_scene_3d_instance_param (Scene, InstanceBase, ‘color’, ‘gray’)
*
add_scene_3d_instance (Scene, PlateModel, StartPose, InstancePlate)
set_scene_3d_instance_param (Scene, InstancePlate, ‘color’, ‘black’)
*
add_scene_3d_instance (Scene, MarksModel, StartPose, InstanceMarks)
set_scene_3d_instance_param (Scene, InstanceMarks, ‘color’, ‘white’)
*
add_scene_3d_instance (Scene, VolumeModel, Origin, InstanceVolume)
set_scene_3d_instance_param (Scene, InstanceVolume, ‘color’, ‘yellow’)
set_scene_3d_instance_param (Scene, InstanceVolume, ‘alpha’, 0.4)
*
set_scene_3d_to_world_pose (Scene, [-0.01,-0.07,4.0,306,2.2,330,0])
endif
* Display the image and the centers of the calibration marks
get_calib_data_observ_contours (MarkContours, CalibDataID, ‘marks’, 0, 0, Index)
dev_set_window (WindowHandle)
dev_display (Image)
dev_set_colored (12)
dev_set_line_width (1)
dev_display (MarkContours)
* Visualize the configuration of camera and calibration target
set_scene_3d_instance_pose (Scene, InstancePlate, StartPose)
set_scene_3d_instance_pose (Scene, InstanceMarks, StartPose)
display_scene_3d (WindowHandleConfig, Scene, CameraIndex)
disp_message (WindowHandle, 'Extracted marks in image ’ + Index, ‘window’, 12, 12, ‘black’, ‘true’)
disp_message (WindowHandleConfig, 'Simulated view of pose ’ + Index, ‘window’, 12, 12, ‘black’, ‘true’)
disp_continue_message (WindowHandle, ‘black’, ‘true’)
stop ()
endfor
*
- Part III
- Finally calibrate the camera
calibrate_cameras (CalibDataID, Error)
get_calib_data (CalibDataID, ‘camera’, 0, ‘params’, CameraParametersCalibrated)
get_calib_data (CalibDataID, ‘camera’, 0, ‘params_labels’, ParLabels)
*
- Display results
dev_set_window (WindowHandle)
dev_clear_window ()
if (|ParLabels| == 12)
Units := [‘m’,‘’,‘’,‘’,‘’,‘’,‘m’,‘m’,‘px’,‘px’,‘px’,‘px’]
else
Units := [‘m’,‘’,‘m’,‘m’,‘px’,‘px’,‘px’,‘px’]
endif
FormatStringLabels := max(strlen(ParLabels)) ′ 0 ′ + ′ s ′ F o r m a t S t r i n g P a r a m s : = ′ ′ C a m P a r T a b l e : = P a r L a b e l s '0' + 's' FormatStringParams := '' CamParTable := ParLabels ′0′+′s′FormatStringParams:=′′CamParTable:=ParLabelsFormatStringLabels + ’ = ’ + CameraParametersCalibrated + ’ ’ + Units
Text := ‘The camera is now calibrated and ready for’
Text[1] := ‘high-accuracy metric measurements.’
Text[2] := ‘The final camera parameters are:’
Text[3] := ’ ’
Message := [Text,CamParTable,’ ‘,‘Back projection error = ’ + Error$’.3f’ + ’ px’]
disp_message (WindowHandle, Message, ‘window’, 12, 12, ‘black’, ‘true’)
stop () - Part IV
- Cleanup
clear_calib_data (CalibDataID)
clear_object_model_3d ([MarksModel,PlateModel,CamModel,BaseModel,VolumeModel])
clear_scene_3d (Scene)


以下是代码的逐行解释:
list_image_files (‘calib’, ‘default’, [], AllCalibImageFiles): 列出指定目录下的所有图像文件,并将文件名列表存储在AllCalibImageFiles变量中。
tuple_regexp_select (AllCalibImageFiles, ‘calib_single_camera’, ImageFiles): 从AllCalibImageFiles中筛选出符合正则表达式’calib_single_camera’的图像文件,并将结果存储在ImageFiles变量中。
read_image (Image, ImageFiles[]): 读取ImageFiles列表中的第一个图像文件到变量Image中。
get_image_size (Image, Width, Height): 获取图像Image的宽度和高度。
dev_close_window (): 关闭当前显示窗口。
dev_open_window_fit_size (…): 根据图像大小打开一个新的显示窗口。
set_display_font (…): 设置显示窗口中的字体样式。
get_window_extents (…): 获取窗口的边界信息。
dev_open_window (…): 打开另一个显示窗口,用于3D可视化。
Message := ‘Creating 3D object models for visualization…’: 设置消息字符串,用于显示在窗口中。
disp_message (…): 在窗口中显示消息。
create_models (…): 创建用于可视化的3D模型。
disp_message (…): 显示准备好的消息。
wait_seconds (.5): 等待.5秒。
接下来是Part I,创建和设置相机标定模型。
create_calib_data (…): 创建相机标定数据结构。
set_calib_data_calib_object (…): 设置使用的标定板描述文件。
set_calib_data_cam_param (…): 设置初始相机参数。
Part II,从标定图像中提取标定标记。
循环读取ImageFiles中的每个图像文件,并使用find_calib_object函数提取标定标记。
get_calib_data_observ_pose (…): 获取提取到的标定标记的姿态。
create_pose (…), create_viewing_volume (…), create_scene_3d (…): 创建3D模型和场景,用于可视化相机和标定板的配置。
display_scene_3d (…): 显示3D场景。
disp_message (…): 在窗口中显示提取到的标记信息。
stop (): 暂停执行。
Part III,执行相机标定。
calibrate_cameras (…): 执行相机标定算法。
get_calib_data (…): 获取标定后的相机参数。
disp_message (…): 显示标定结果。
stop (): 暂停执行。
Part IV,清理资源。
clear_calib_data (…): 清除相机标定数据。
clear_object_model_3d (…): 清除3D模型。
clear_scene_3d (…): 清除3D场景。
整体来说,这段代码的作用是进行相机标定,包括创建标定数据结构、提取标定标记、执行标定算法、显示标定结果和清理资源。这个过程在机器视觉和计算机视觉中非常重要,可以提高测量精度和图像处理的准确性。


 550
550

 被折叠的 条评论
为什么被折叠?


